Glass Engraving Tips and Tricks
Whether you're a seasoned professional or just starting your journey into the world of CO2 laser technology, within this guide, we've shared a range of invaluable glass engraving tips and tricks to help you achieve stunning results, from exploring the different glass types, parameter settings and finishing tips.
Additionally, we welcome your insights! If you have any personal tips for laser engraving glass, please comment below.
What Types of Glass Can Be Laser Engraved?
CO2 laser technology can be used to personalise a wide range of glassware products, from wine glasses and beer mugs to vases and decorative pieces. But what are the most popular types of Glass used on the market, and what issues can arise during the laser engraving process?
Borosilicate Glass
Borosilicate glass is often used to manufacture bottles, flasks, funnels, beakers and measuring instruments.
Due to the composition of borosilicate glass, it has a low coefficient of thermal expansion. Meaning it is more resistant to breakage caused by rapid temperature changes. As a result, borosilicate glass tends to be more forgiving when laser engraved - creating a cleaner, crisper and less flakey finish.
Soda-lime Glass
Soda-lime Glass is the most common form, making up approximately 90% of all manufactured Glass. Produced on a large scale and used for bottles, drinking glasses, and windows.
Soda-lime Glass has a low melting temperature making it an ideal choice for laser marking and produces minimal chipping and flaking. The higher the quality of soda lime glass, the better the engraving quality.
Lead Crystal Glass
Lead crystal glass tends to be more temperamental to engrave. Glass with high levels of lead tends to produce more heat during the engraving process, which can lead to excessive chipping, flaking, and even breaking.
How Can You Tell If Glass Contains Lead?
Identify Glass with lead by tapping it with a metal utensil such as a knife.
If you hear a drawn-out, high-pitched, chiming sound by tapping the Glass, chances are it contains lead. Regular Glass tends to make a duller, more subdued sound when tapped.
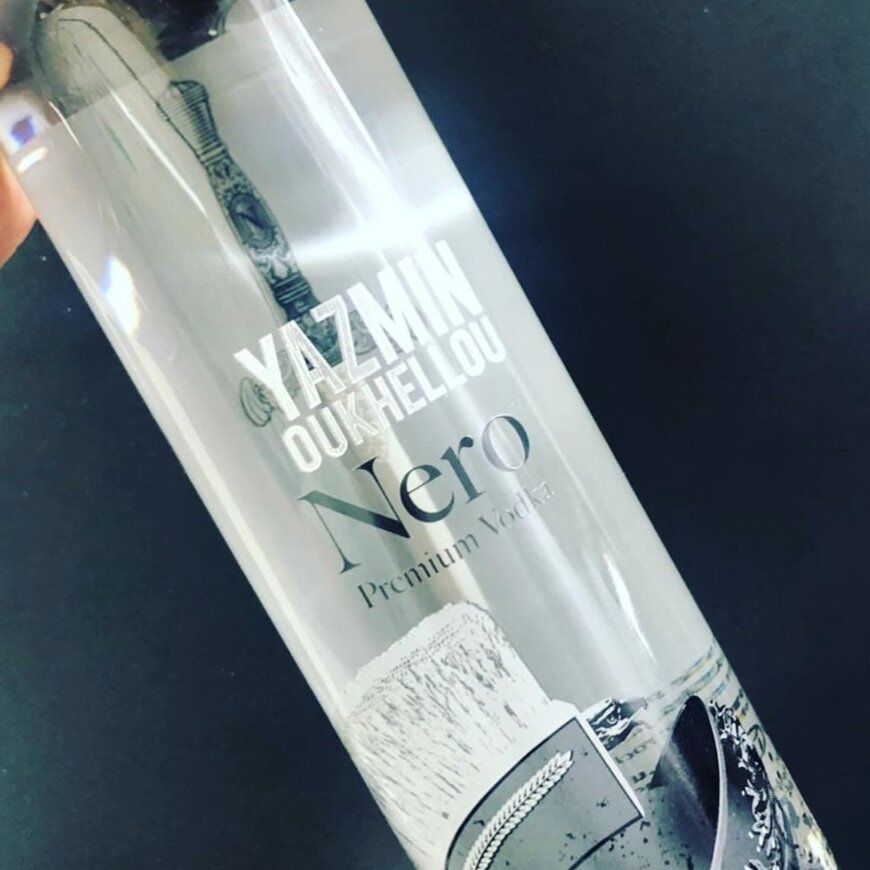
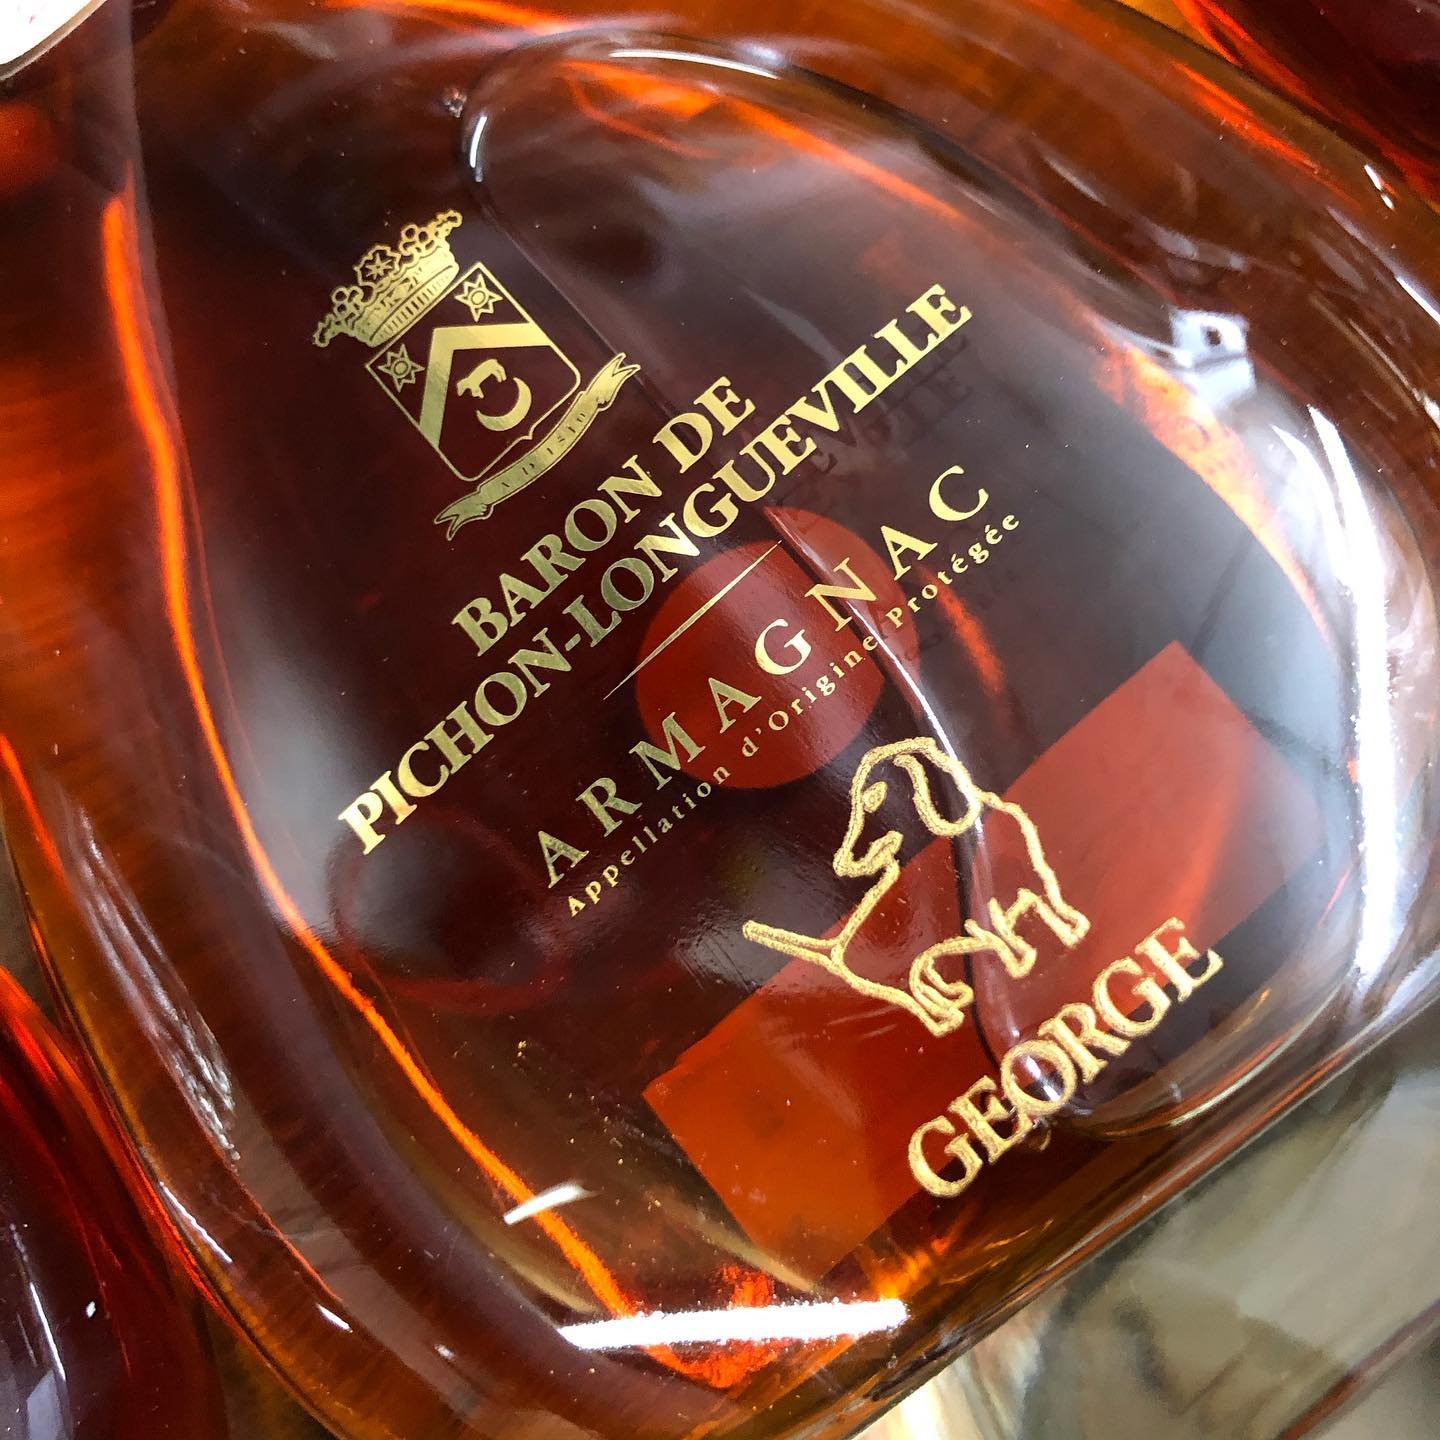
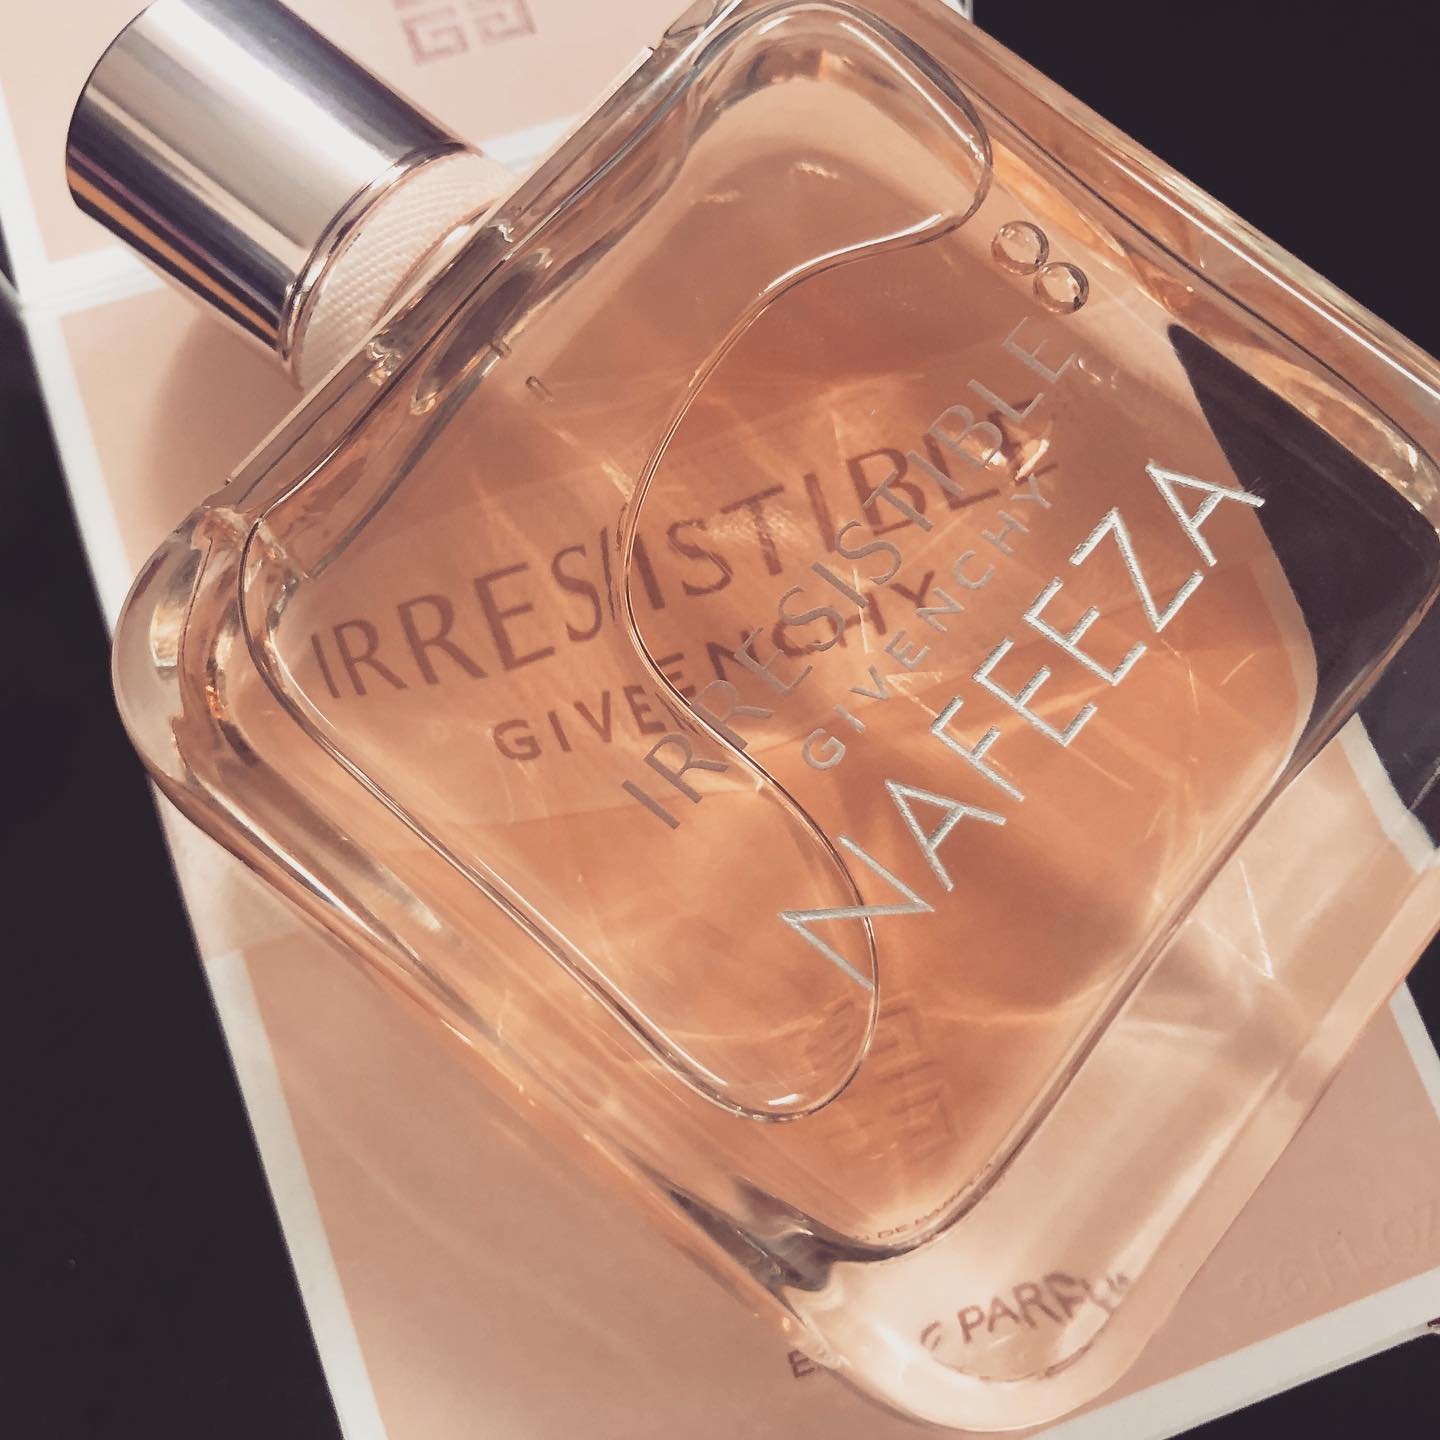
Below we have shared some popular crystal glassware brands that have been engraved using a co2 laser.
What Setting Do You Use to Laser Engrave Glass?
Machine settings when engraving glass varies depending on the type of laser machine you have and the wattage of your laser tube.
With a 60W laser, try the following settings for best results: 20% power, 300mm/s speed and 0.1mm interval whilst using a 2" or 2.5" focal lens.
The main thing to remember when engraving glass is to test, test and test again.
How Do You Laser Engrave Round Objects?
A rotary attachment for your laser engraving machine is an excellent investment for anyone looking to take their engraving projects up a level. It offers an efficient way to engrave cylindrical glasses.
When engraving glasses with handles, you would need a chuck style rotary instead of a roller type.
Laser Engraving Glass Tips
Test, test and test again
When laser etching glass, it's important to remember it's a natural material, and the outcomes will vary depending on the type of Glass.
The power settings are going to be where you make the most fine-tuned adjustments.
To achieve the ideal crisp frosted finish on your glass engraving with minimal micro-fractures, you must meticulously calibrate your laser etching power settings.
Glass to engrave isn't forgiving, and accuracy is paramount when dealing with narrow margins for success.
So remember to test, test and test again. Try out different power and speed settings on your laser, along with the techniques below.
Avoid a second pass.
When an engraving outcome is below standards, you should avoid engraving over the same design again because the laser beam can cause cracking or shattering of the Glass due to its intense heat. The concentrated energy may also damage the surface of the Glass, resulting in a hazy finish and flaking.
Determining the perfect settings before engraving will ensure the laser machine produces the look you want and will help you avoid running the project a second time.
It's worth noting the more times you run the same design on Glass, the more likely you're to see inconsistencies in the engraving, micro fractures and the possibility of breaking the Glass due to overheating.
Masking the area
The masking process requires you to place a thin, wet sheet of newspaper or paper towel over the area to be personalised before engraving.
This helps with heat dissipation, which minimises micro-fractures occurring on the surface of the Glass.
The technique is particularly popular when engraving crystal glass. Because of the high levels of lead, it tends to produce more heat during engraving. Masking the area helps to dissipate the excessive heat.
Make sure the paper is flat with minimal air bubbles, or your Glass will not etch properly.
Fill a spray bottle with water. Hold the paper over the engraved area and spray it with water with one hand. This technique helps reduce air bubbles forming under the masked place, which can throw off the laser beam whilst processing, resulting in an inconsistent finish.
How to Laser Engrave a Photo on Glass?
For the most optimal results when laser engraving a photo onto Glass, we recommend using a grayscale matrix of 70% black for maximum clarity.
This will reduce the amount of heat that is applied to the surface of the Glass during the engraving process, resulting in a superior finish.
For optimal image quality, it is recommended to use an average resolution of 500 dpi or higher. Lightburn also has a number of pre-set settings for engraving images that are great to try out.
When engraving an image onto Glass, it's important to understand that every picture is different and a case of trial and error.
Finishing Tips When Engraving Glass
Removing Debris
To safely remove stubborn glass fragments, use a stiff-bristle paint brush or toothbrush to scrub the surface of the Glass delicately.
Cleaning
Eliminate any oil or smudges with a paper towel and just a touch of rubbing alcohol or isopropyl alcohol.
Add Colour to Glass Engraving
The opaque frosted finish, when personalising Glass, can sometimes hide details within the engraving. Make your glass engraving 'pop' by adding colour. Rub'n Buff offers a simple, straightforward wax finish that can be applied without any hassle or fuss. There's no need for special skills or knowledge - Rub the paint onto the surface using a soft cloth, then buff it to a high shine.
How to Choose a Glass Engraving Machine?
When choosing a suitable glass engraving machine, you'll want to take into consideration:
Your budget
The power of the laser
What training is provided?
Safety features
Maintenance, repairs and replacement parts.
We have a brilliant guide to buying the best laser cutter for your needs, where we explore each of these points in more depth.
Alternatively, when in doubt, speak to the experts. At Focused Laser Systems, we are the UK's leading laser machine supplier and laser repair specialists, where we focus on affordability and reliability.
Our laser cutters have been designed with decades of industry knowledge at their core, using only the highest quality components.
From desktop laser engravers to large format laser cutters, our laser systems are available in an array of bed sizes and power levels, ideally suited for various applications and industries, ranging from creatives and hobbyists to schools, universities, small businesses and manufacturing.


